How to
This site uses Jekyll to create static web pages from simple markdown files. This way of managing content has many advantages over traditional content management systems such as Wordpress or Drupal including:
- Ability to edit content offline using simple text editors
- No need for databases or dynamic content
- Faster page loads
- Integration with version control systems
- Easier collaboration with groups
Even better, Jekyll is integrated with Github Pages. This allows content pushed to a special repositiory to be automatically converted to static pages, and hosted for free directly from the associated github.io address. This method of blogging has become popular with software developers because it integrates directly within their existing version control workflow. Instead of going through a separate online interface to generate content, blog posts can be mainted offline as simple markdown-formatted text files, and pushed to the web using the Github interface.
While this is ultimately a fairly easy and straight forward method for maintaining a blog, it does require a bit of setup to be able to work on the contant remotely and preview blog posts before they are published online. The following are step by step instructions on how to set up the necessary requirements to create and preview content on your local machine, as well as how to submit the content to have it featured on the blog.
1. Set up Github
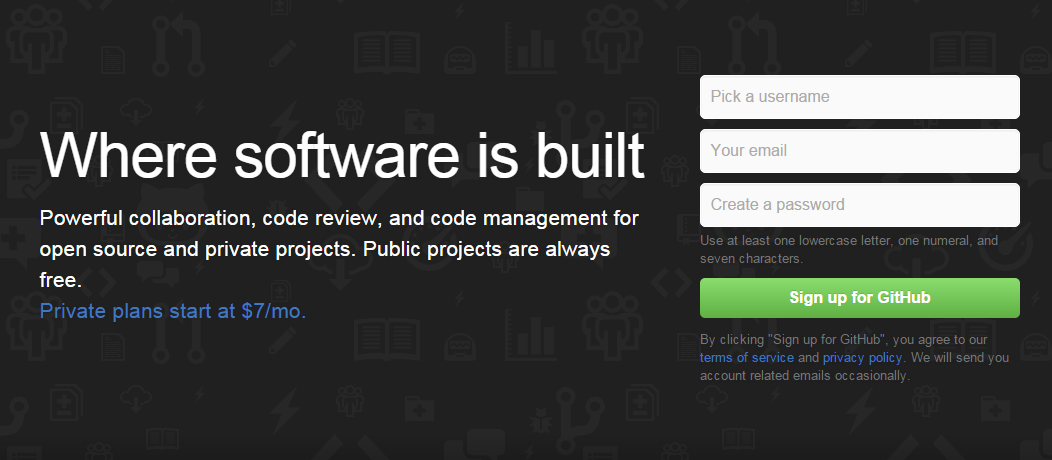
In order to edit and submit content, you will have to set up a Github account and ‘fork’ the website’s repository. To get started, go to https://github.com/ and sign up for a free account:
Then go to: https://github.com/the-living/the-living.github.io. This is the main repository for the research blog. All contributions to the blog have to follow this basic process:
- Fork blog repository
- Create new post in _drafts/ folder and add any referenced images into the images/ folder
- Submit pull request to incorporate changes into the blog
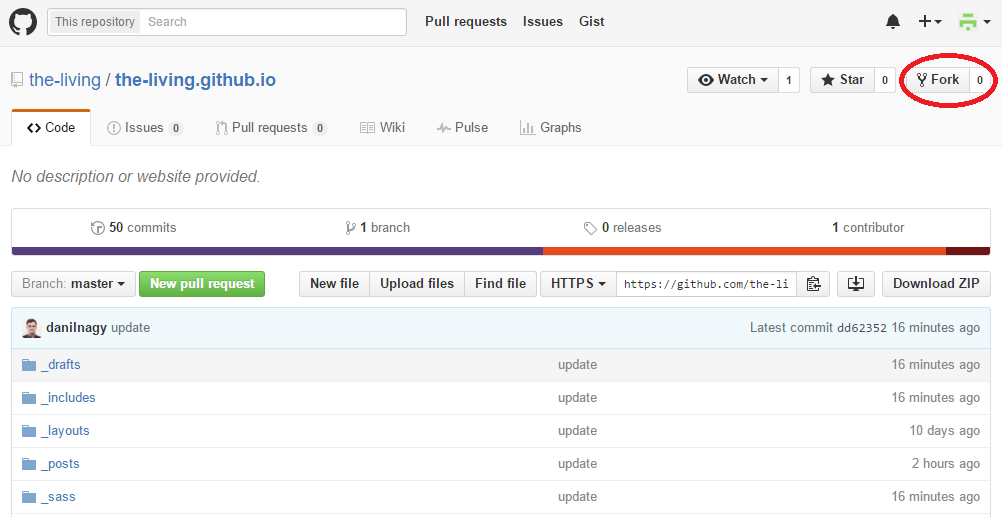
To start contributing to the blog, you need to ‘fork’ the main repository into your account. This creates your own personal version of the repository and allows you to make changes and contributions without worrying about effecting the main project. To fork the site, click the ‘fork’ button in the top-right corner:
At this point, you are ready to start contributing content through Github. If you are comfortable using the git command line you can use this. However, if you’ve never used Github before it would probably be easier to download Github Desktop, which is a cross-platform application with a graphic user interface which makes it easier to use for beginners. Download the client and follow the instructions to install it for your operating system.
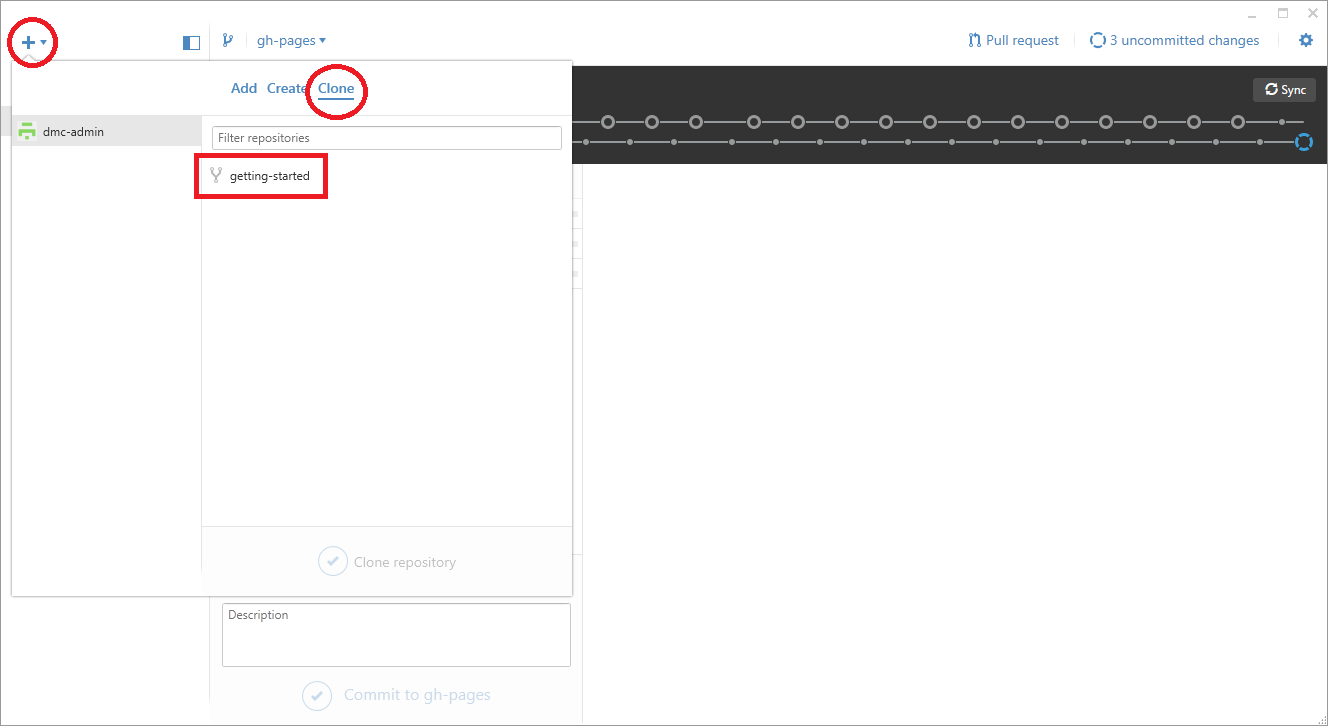
Once you have the client installed and running, you should see a blank interface. Click the plus sign in the upper left corner, and go to Clone. This should produce a list of any projects you have started or forked. Click on your fork of ‘the-living.github.io’, and click the check mark to clone this repository to your local computer. It will ask you where you want to clone the repository into. Select a folder such as ‘My Documents/GitHub’.
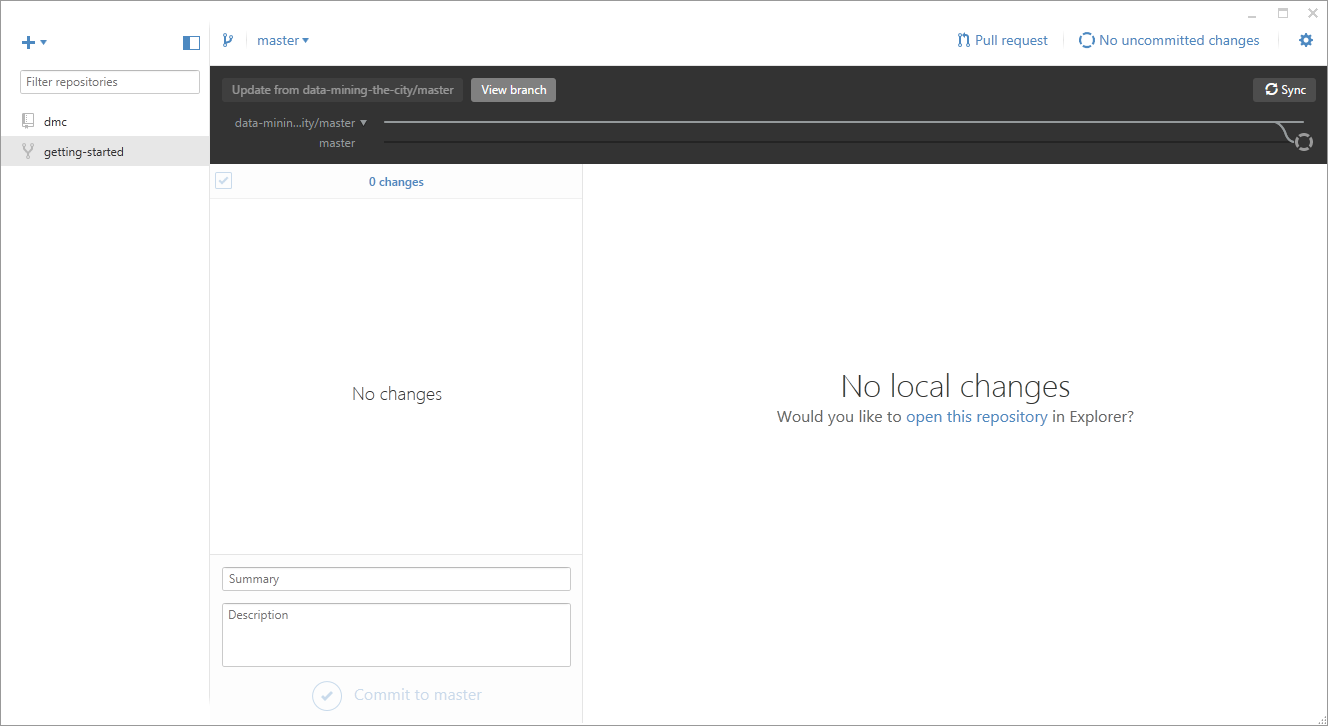
Once the process is complete, you will see a local copy of all the files from the repository in the specified folder and a blank interface telling you that you have not made any local changes.
2. Install Ruby and Jekyll
Although Github Pages will automatically convert content pushed to the main ‘the-living.github.io’ repository into static web pages, to preview your content as you’re developing it on your local fork, you will need to install Jekyll and the Ruby programming language if you don’t have it installed already.
If you are on Windows, go to http://rubyinstaller.org/downloads/ to download a Ruby installer. You can use the highest version for 32-bit systems (64-bit is not yet supported by many libraries so it’s best to avoid it for now). At the time of writing this was version 2.2.4. Once it’s downloaded, double click the file to start the installer. Select your language and agree to the terms, then on the install settings screen, check the boxes next to both “Add Ruby executables to your PATH” and “Associate .rb and .rbw files with this Ruby installation”. (You can also install Tcl/Tk support if you’d like, but you don’t need to.)
Next, download the appropriate DevKit depending on the version of Ruby you installed. When the download is finished, double click the file and you will be asked where to extract the files. Click the “…” button, and select “C:\DevKit” (you’ll probably need to create this folder first by clicking “Make New Folder”).
Click “OK”, and then “Extract” to extract the files. Now open the Command Prompt and enter the following commands:
chdir C:\DevKit
ruby dk.rb init
ruby dk.rb install
This will install Ruby as well as the RubyGems package management system which will allow you to install software written in Ruby such as Jekyll. To install Jekyll, we will use the command line. Open up a Command Prompt (or Terminal if you’re using Mac OSX or Linux) and type the following lines of code, hitting ‘Enter’ after each one:
gem install jekyll
gem install jekyll-paginate
gem install jekyll-sitemap
These commands will install Jekyll, as well as two other libraries that are necessary for some of the functions of the blog.
3. Run the Jekyll server
Once we have Jekyll installed we can use its command line tools to generate web pages from our content, and allow us to preview them on a local server. Within a Command Prompt (or Terminal) window, navigate to the local folder into which you cloned your fork of ‘the-living.github.io’ repository. A quick way to do this in Windows is to open the folder in File Explorer, and then Shift + right-click in the folder and select ‘Open command window here’. Now type in the command:
jekyll serve --drafts
http://127.0.0.1:4000/ and hit ‘Enter’. This will start a local server on your machine which will compile web pages from the content in the repository’s folder, and serve it locally so you can preview what it looks like. By default, Jekyll will serve the web pages over port 4000 of your local address. To access it, open up a web browser and type http://localhost:4000/ in the address bar (this is equivalent to typing http://127.0.0.1:4000/). This should bring you to the main page of the blog, allowing you to preview any changes you make before submitting them to the actual website. The ‘–drafts’ keyword in the command above tells Jekyll that you want to previous drafts as well as final blog posts. Since you will be contributing all content as drafts, make sure you include this keyword. Also, Jekyll is set up to listen for any file changes and automatically update the server, so as long as you don’t close the Command Prompt you should be able to visualize any changes you make to files in real time.
4. Create a new branch and commit changes
Let’s go through a basic example of how you would create new content and submit it for publication on the main blog. To make things more organized, each submission should be developed within it’s own branch of your fork of the main ‘the-living.github.io’ repository. Open the Github Desktop interface, and make sure that ‘the-living.github.io’ is selected in the list on the right side. By default, you will start working in the ‘master’ branch, as indicated at the top of the interface. In software development, this represents the most stable version of the project, and should not be used for testing out or developing new features. Instead, each new feature is typically developed in a separate ‘branch’, which represents a separate version or ‘sandbox’ in which new features can be developed without concern about impacting the main project. Once the feature has been tested and deemed stable, it’s unique code can be ‘pulled’ back into the main version. We will follow a similar process to update the blog. Each post will be developed within a separate branch on a forked version of the website repsotiory. Once the post is complete, the writer can submit a ‘pull request’ to integrate the post into the main website.
To start a new branch, click the icon to the left of the pulldown which is showing the current branch you are working on. In the prompt, type the name of your new branch (for example ‘test-post’) and tell it to create the branch based on ‘master’ (this should be the default). Next, in your file browser, go to the /_posts folder in your local clone of the repository. Make a copy of the ‘post-template’ file and rename it with the title of your post. Now open the file in any text editor (I recommend downloading Sublime, which is a great free text editor with many useful features such as syntax highlighting). At the top of the file you should see a header similar to:
---
layout:		post
title:		post template
author:		your name
summary:	short description of post
image:		placeholder-title-image.png
tags:		tags
---
This header contains the post’s basic information and tells Jekyll how to display it. You should change each field to correspond to the content of your post. Next, add some text to the body of the post and save your changes.
As soon as you hit save, Github will register the change, and will track it in the Github client. You can review the changes made to each file by clicking them on the left pane. It will then show you which lines were deleted (in red) and added (in green) since the last commmit. To commit these changes to the repository, type in a short description of the changes you made, and hit the checkmark next to ‘Commit to master’. To sync this commit to the online repository, hit the ‘Sync’ button in the top right corner. Anytime you want to make changes, make sure you both submit a commit AND sync to the server, or else no one else will be able to see your local changes.
Once the changes are synced, you can go back to the Github website and see that the changes are now reflected in your fork, with the commit description written next to the changed file.
After you’ve made all the changes you want, you are now ready to submit your edits as a pull request to the master project. To start, click the text that says ‘Pull request’ (see image above). This will present you with an interface that lets you specify the source and target of the pull, as well as review the changes that have been made. On the top bar, the base fork should be the base project (the-living/the-living.github.io) and the head fork should be your fork (<your user name>/the-living.github.io). In this case, since the changes are minor and are not in conflict with any changes made in the main project, it is able to merge the changes directly without any additional negotiations.
Once you are satisfied, hit the green ‘Create pull request’ button to submit the request. The site’s moderators will then review your post and incorporate it into the main repository, thereby posting the content to the live blog. In the pull request description you should mention the name of your post and any other relevant information.